Setting up OpenVPN on PFSense 2.4.x is a straightforward but rather long process but hopefully this step-by-step guide can give you the direction you need to implement this solution as painlessly as possible. There are 3 primary steps to installing and configuring OpenVPN on PFSense:
- Create the Certificate Infrastructure
- Configure OpenVPN on PFSense
- Configure Client Access
VPN’s are very versatile infrastructure solutions which give you the ability to enable remote access to your local environment. They are also a more secure solution than exposing remote access protocols such as RDP or SSH directly over the Internet and also provide you with a level of privacy and security when you are using the Internet from insecure locations.
Let’s get started.
Creating the Certificate Infrastructure needed for PFSense and OpenVPN
OpenVPN uses certificates to secure the VPN service for authentication and encryption purposes. The first thing we need to do on PFSense is create a Certificate Authority. If you already have one configured you can skip this step.
Creating a Certificate Authority on PFSense
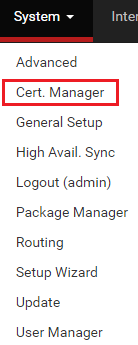
The first step in the process is to navigate to the built-in PFSense Certificate Manager
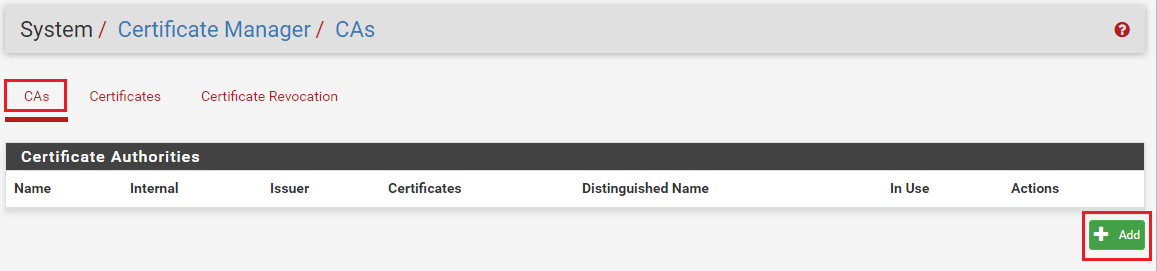
You will then be presented with a dashboard detailing the list of CA’s installed on the server. In the example below there isn’t one so click on ‘+Add‘ to create a new one.
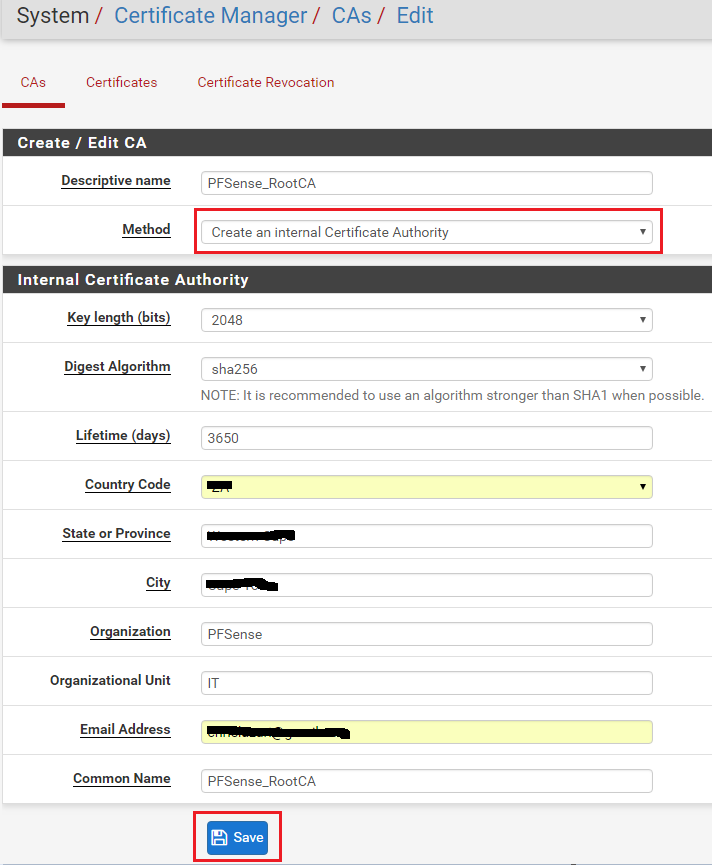
Next we need to fill out the form which PFSense will use to create the Certificate Authority. Since we are building an Internal Certificate Authority, select this option from the drop-down list as highlighted in the image below and then fill out the necessary details about your organization in the fields provided. Remember to give you CA a useful common name which you can use to identify it. In my example I used PFSense_RootCA. Once done, click on ‘Save‘ and your Internal Certificate Authority will be created.
Creating the OpenVPN Server Certificate on PFSense
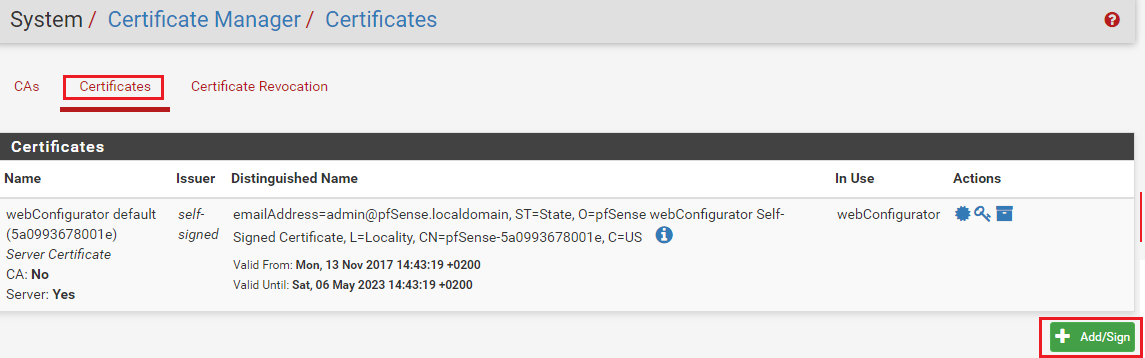
The next step is to create the certificate for the OpenVPN server which clients will use to verify the identity of the server when connecting to it. Under System – Certificate Manager navigate to the Certificates tab and click on ‘+ Add/Sign‘.
Next complete the form to create the certificate. Note you need to select the ‘Create an internal Certificate’ method and ensure you select ‘Server Certificate’ as the certificate type. Fill in the rest of the relevant information and once complete, click on ‘Save‘.

The certificate infrastructure needed for OpenVPN is now complete so we can move onto the next phase, creating the OpenVPN service
Configuring OpenVPN on PFSense
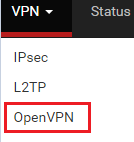
We will be using the OpenVPN configuration wizard for this step. To start go to VPN in the main menu and then click on OpenVPN.
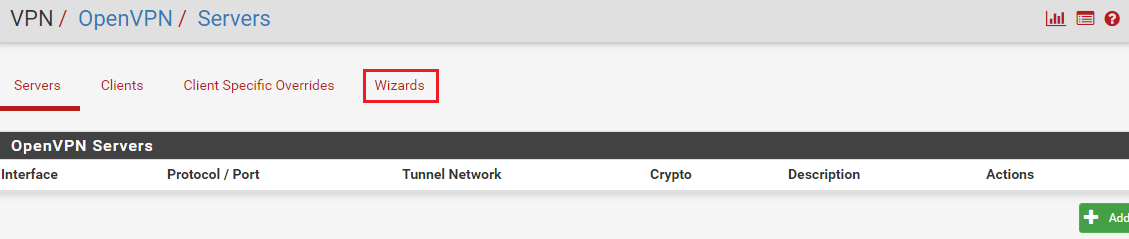
Next click on the ‘Wizards‘ tab to start the configuration sequence.
We now need to select type of server. In the drop-down list provided, select ‘Local User Access‘ and then click ‘Next‘

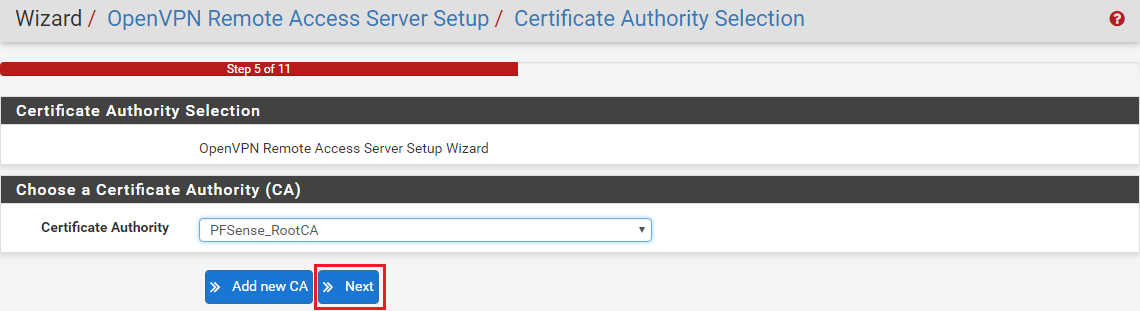
Next Select the Certificate Authority and click ‘Next‘. If you have not created one, follow the steps above.
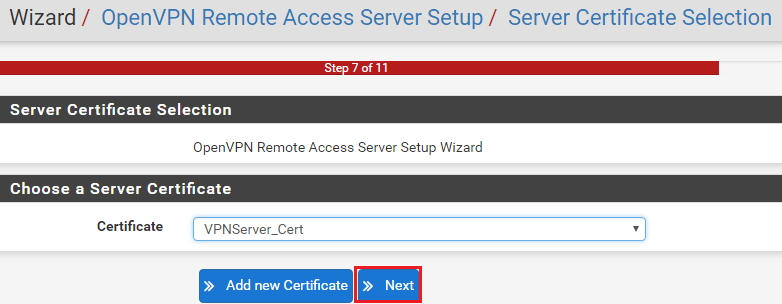
The next step is to select the VPN Server Certificate. Once completed click ‘Next‘. Again, if you have not created one, follow the steps above.
Next you will need to complete the Server Setup form which consists of four sections: General OpenVPN Server Information, Cryptographic Settings, Tunnel Settings and Client Settings. As each environment is different, you may need to adjust these to meet your specific requirements. The settings below are the default settings which ensure privacy and use PFSense as your DNS server etc.
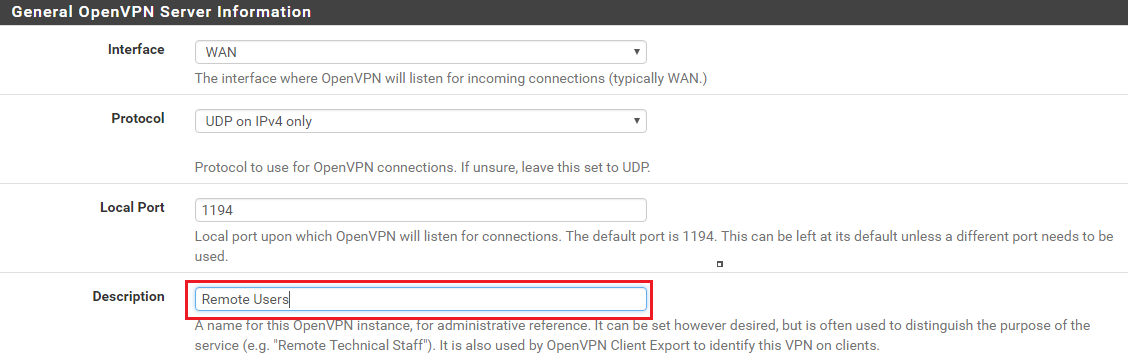
First, let’s configure the General OpenVPN Server Information. Leave everything as default and give your VPN a description if you so choose as per the example below.
Under Cryptographic Settings, leave everything as default but change the Auth Digest Algorithm to SHA256 as per the example below since SHA1 is not that secure.

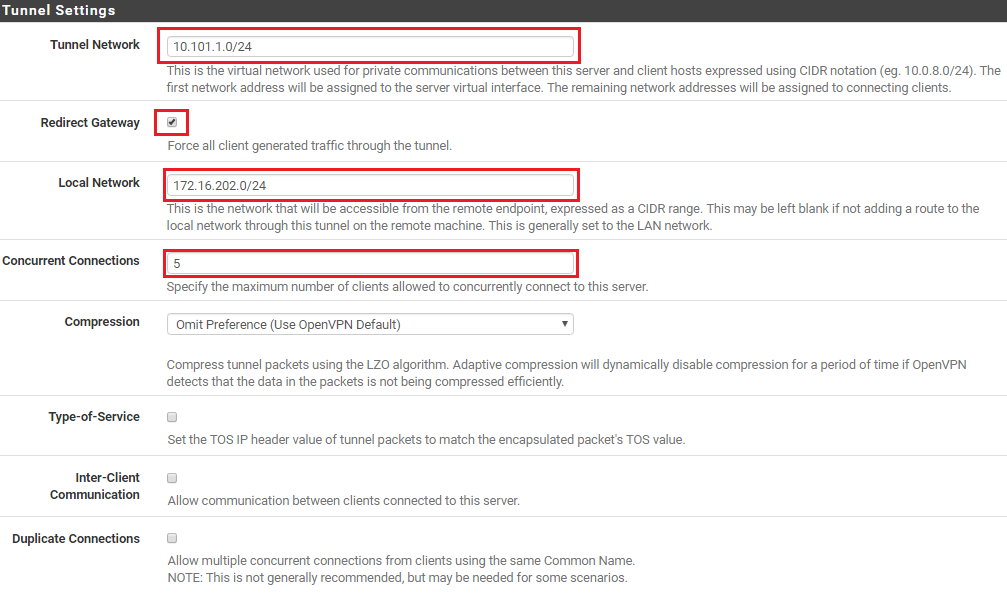
Under Tunnel Settings, enter the IP address range in CIDR notation for the Tunnel network (this will be the IP address range OpenVPN will use to assign IP’s to VPN clients). You also need to tick the checkbox labeled Redirect Gateway to ensure all clients only use the VPN for all their traffic. Next enter the local network IP address range in CIDR notation (this is usually your LAN) and then set your maximum number of concurrent connections.
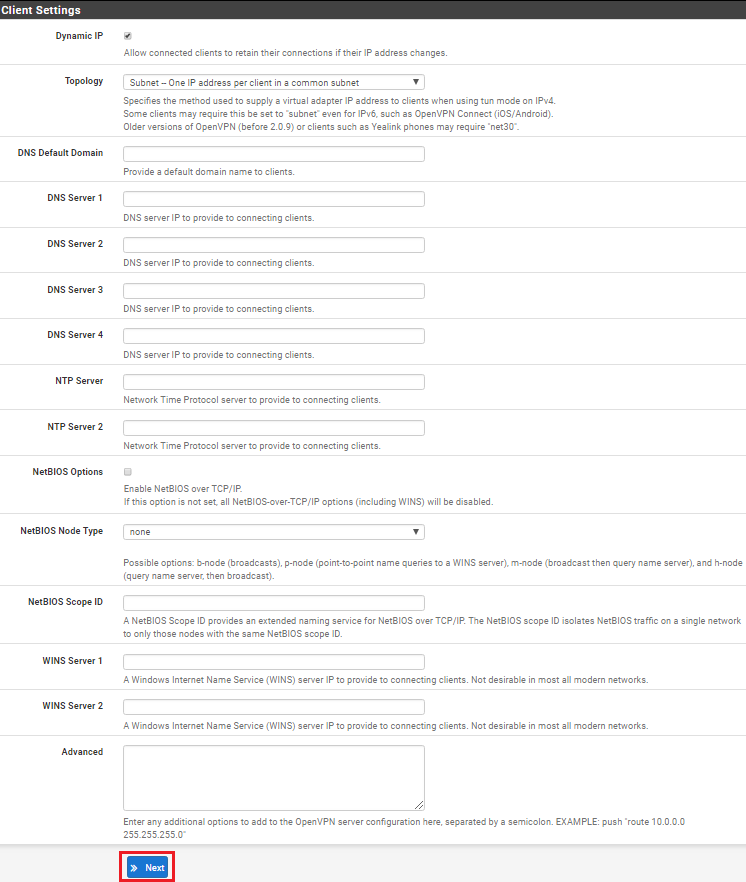
In my configuration example I have left all Client Settings in their default state. Here you may want to specify a DNS server etc. Once completed click on ‘Next‘.
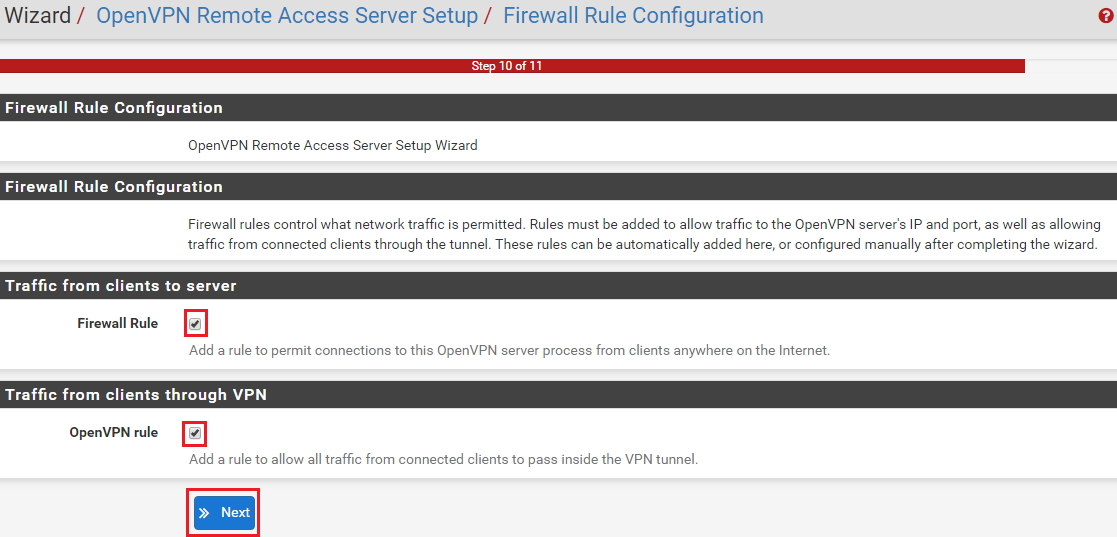
Next the wizard will want to create the Firewall rule configuration. Select the Firewall rule and the OpenVPN rule as per the example below and click ‘Next‘
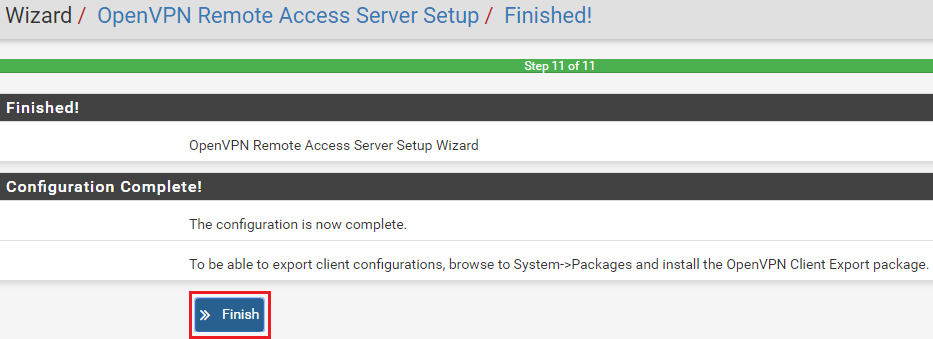
Finally, the configuration is complete. Click ‘Finish‘.
You should now have a configured OpenVPN server, a newly created WAN Firewall Rule and an OpenVPN tab under Firewall rules with the OpenVPN rule configured. Examples below.

Configuring OpenVPN Client Access on PFSense
Now that the OpenVPN server is up and running, we need to configure VPN client access.
Creating the OpenVPN Client on PFSense
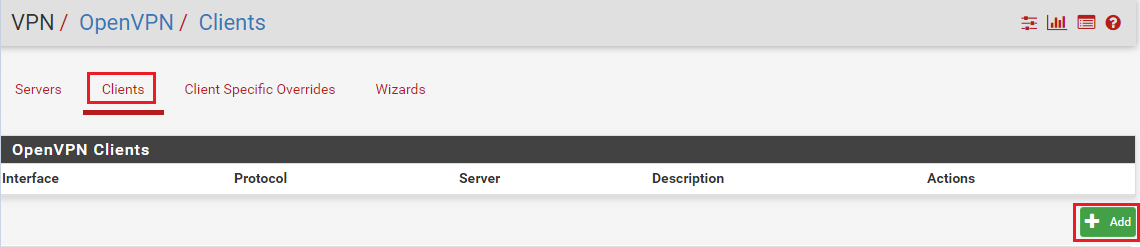
Navigate to VPN – OpenVPN and click on the ‘Clients‘ tab and then click on ‘+Add‘.
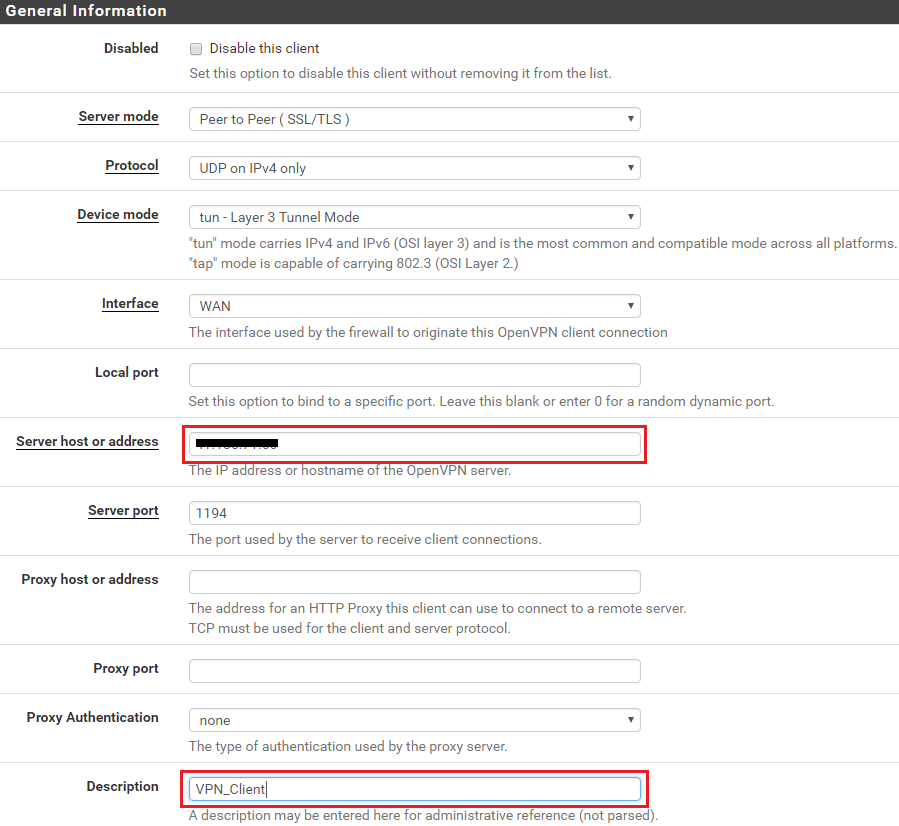
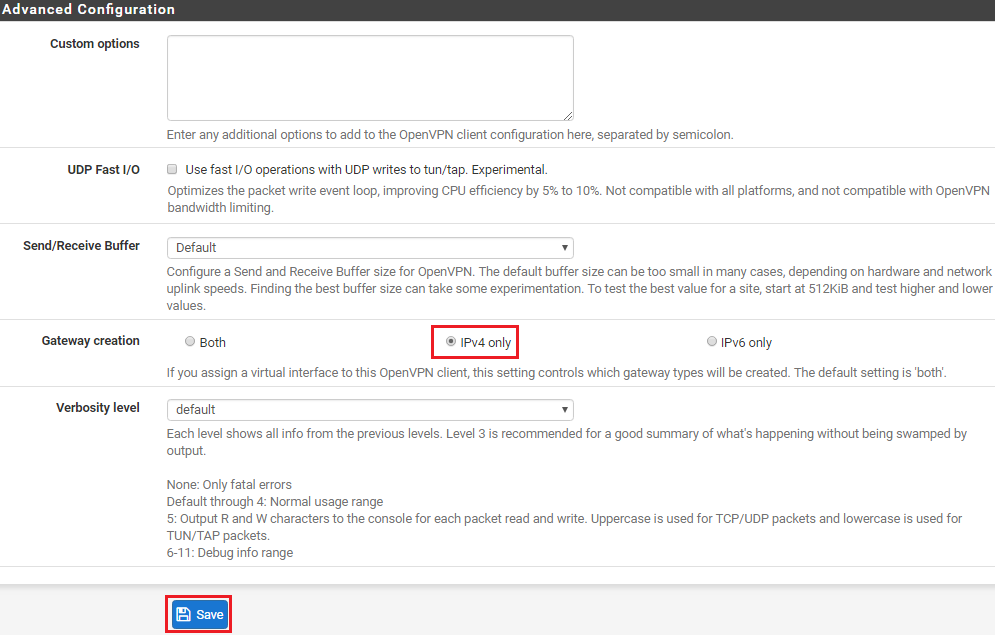
This will open the OpenVPN client edit form which has 5 sections, General information, User Authentication Settings, Cryptographic Settings, Tunnel Settings and Advanced Configuration. As with the server config you will need to configure these settings to match your specific requirements. Below are the minimum changes you need to make.
Under General information enter the Server IP address or Fully Qualified Domain Name (FQDN) of your PFSense server and provide a description.
Under User Authentication Settings provide a Username and Password.

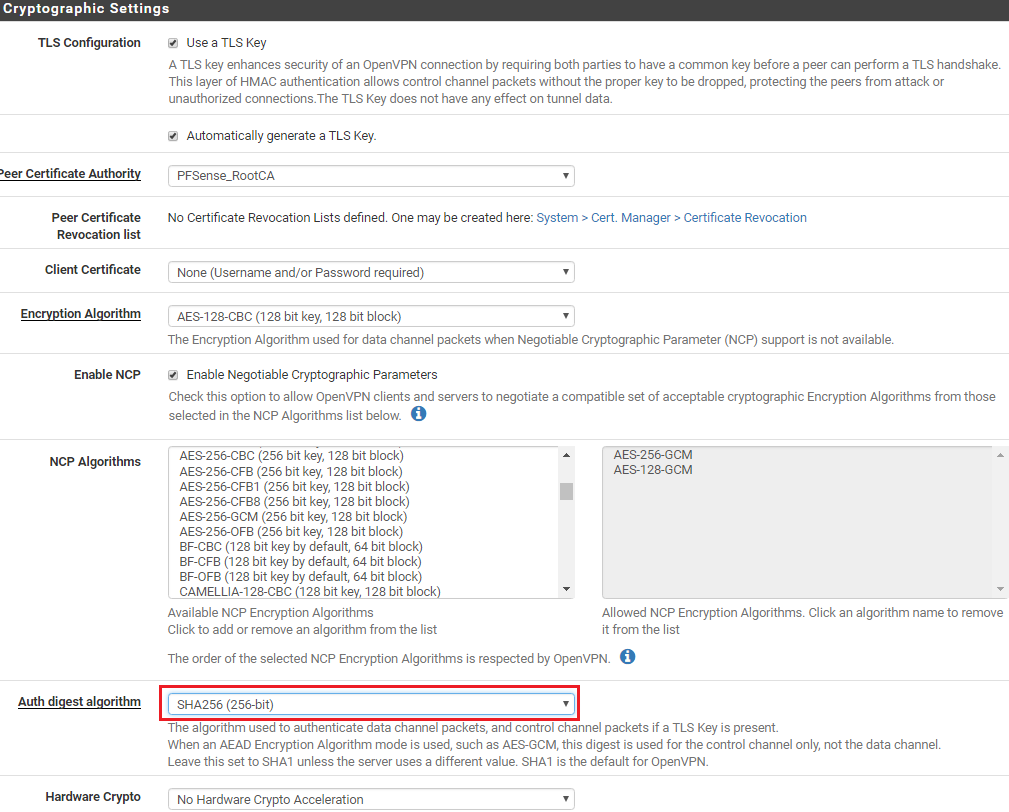
Under Cryptographic Settings select SHA256 for the Auth digest algorithm
Under Advanced Configuration select ‘IPv4’ Only and then click ‘Save‘
You should now have a suitably configured client configuration

Installing the OpenVPN Client Export Package
We now need to go and install the OpenVPN Client Export package so we can export the client configuration which we will need to provide to clients so that they can connect to our OpenVPN server.
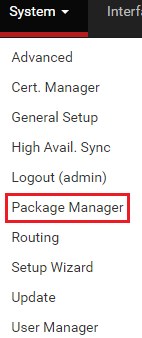
First go to System – Package Manager
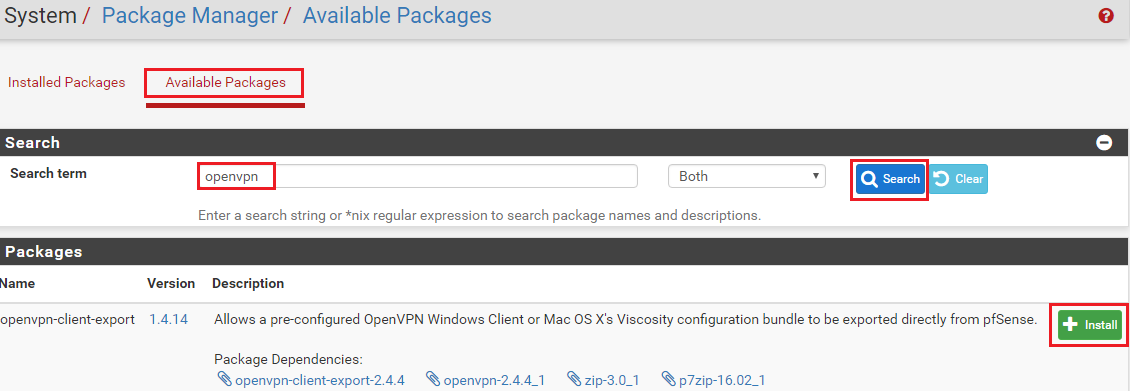
Click on Available Packages and then search for OpenVPN. In the search results which are returned click on ‘Install‘ to install the openvpn-client-export package.
On the next screen click on ‘Confirm‘
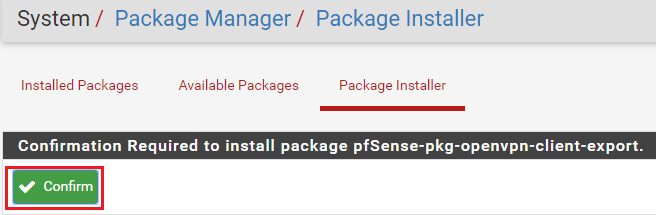
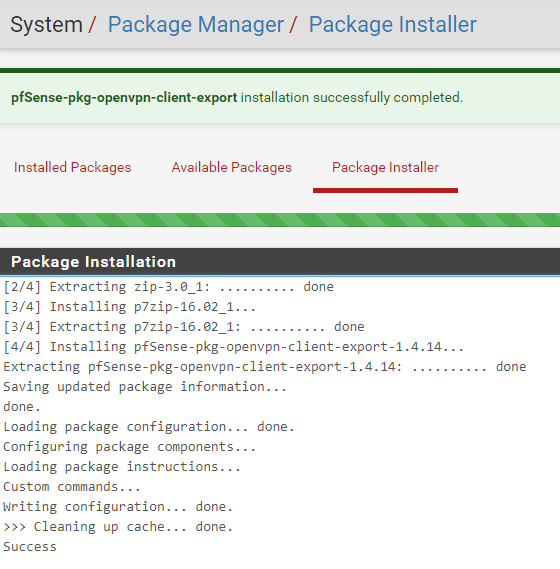
The package will then install and you should get notified if it was installed successfully.
Adding the VPN User
We now need to create the VPN user. To do this go to System – User Manager and click on ‘Add‘ to create a new user. Fill in the username and password which needs to match the config you created under Client Settings during the OpenVPN client configuration. Ensure you tick ‘Click to create user certificate‘ and then give the certificate a name and select your Certificate Authority. Once all is done click on ‘Save‘

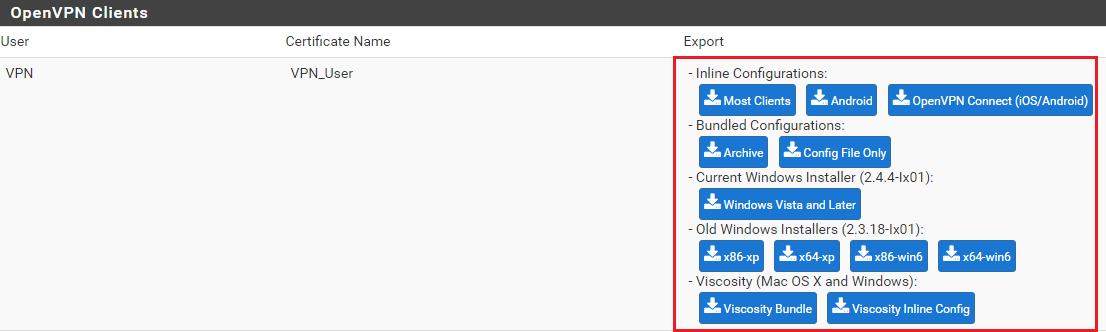
You have no completed the OpenVPN setup. To download the Client Configuration navigate to Client Export under the OpenVPN menu item.

If all is configured correctly you should now be presented different download options which give you the OpenVPN config settings you need to configure your client so that they are able to connect to your PFSense OpenVPN server.
The post PFSense – Setting Up OpenVPN on PFSense 2.4. appeared first on Chris Lazari.
Article Link: https://chrislazari.com/pfsense-setting-up-openvpn-on-pfsense-2-4/