IDA’s default windows layout is sufficient to perform most standard analysis tasks, however it may not always be the best fit for all situations. For example, you may prefer to open additional views or to modify existing ones depending on your monitor size, specific tasks, or the binary being analyzed.
Rearranging windows
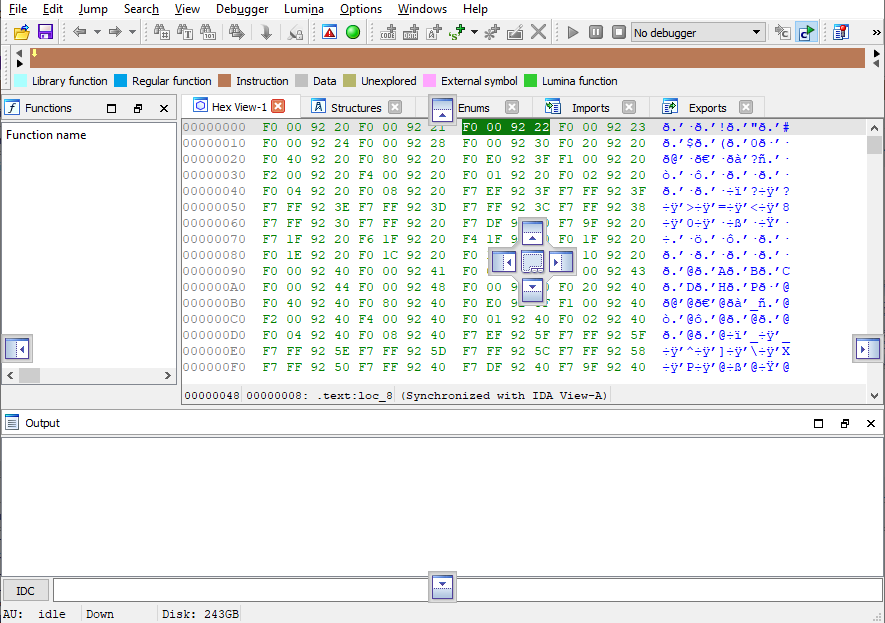
The standard operation is mostly intuitive – click and drag the window title to dock the window elsewhere. While dragging, you will see the drop markers which can be used to dock the window next to another or as a tab. You can also release the mouse without picking any marker to make the window float independently.
Docking a floating window
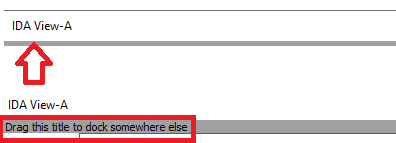
Once a window is floating, you can’t dock it again by dragging the title. Instead, hover the mouse just below to expose the drag handle which can be used to dock it again.
Reset layout
If you want to start over, use Windows > Reset desktop to go back to the default layout.
Saving and using custom layouts
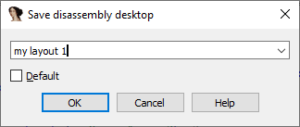
The layout is saved automatically in the database, but if you want to reuse it later with a different one, use Windows > Save desktop… to save it under a custom name and later Windows > Load desktop… to apply it in another database or session. Alternatively, check the “Default” checkbox to make this layout default for all new databases.
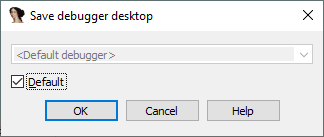
Debugger desktop
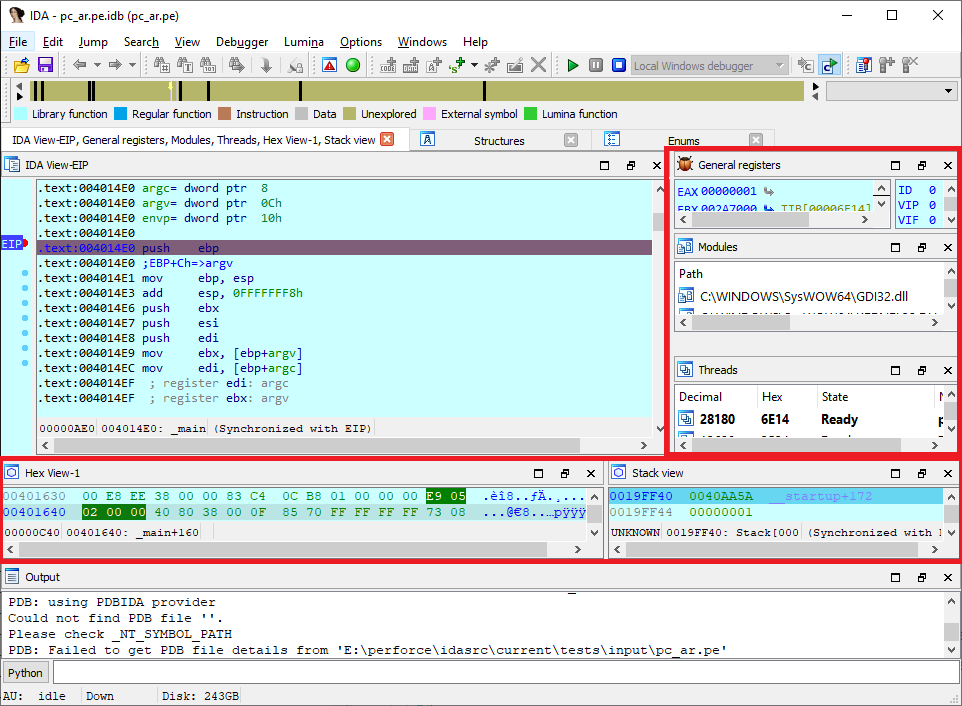
When debugging, the windows layout changes to add views which are useful for the debugger (e.g. debug registers, Modules, Threads). This can lead to crowded display on small monitors so rearranging them can become a frequent task.
This layout is separate from the disassembly-time one so if you want to persist a custom debugger layout, you need to save it during the debug session.
More info: Desktops in the IDA Help.
Article Link: https://www.hex-rays.com/blog/igors-tip-of-the-week-22-ida-desktop-layouts/